
The story behind this ornament:
A few months ago the Holiday Stampin' Up Catalog came in the mail and I fell in love with the project on the cover.

Now, I am not a big stamper but I really like their ink and paper, and establishments, and even their digital stuff so I love looking through the catalogs. When I saw this onrament I knew I could make it with my Kiwi Lane templates but I had no idea how to start! I emailed my Stampin' Up Gal Kristine, and she found me these GREAT instructions. If you get lost in my rambling you may want to check them out. lol
Supplies:
Kiwi Lane Celebrate and Tiny Nature Templates, I used the small "balloon" and small "leaf"
Patter Paper, I used some Stampin Up left overs I had
Scissors, ink, glue gun, glue stick, twine or ribbon, tulle, button or large jewel
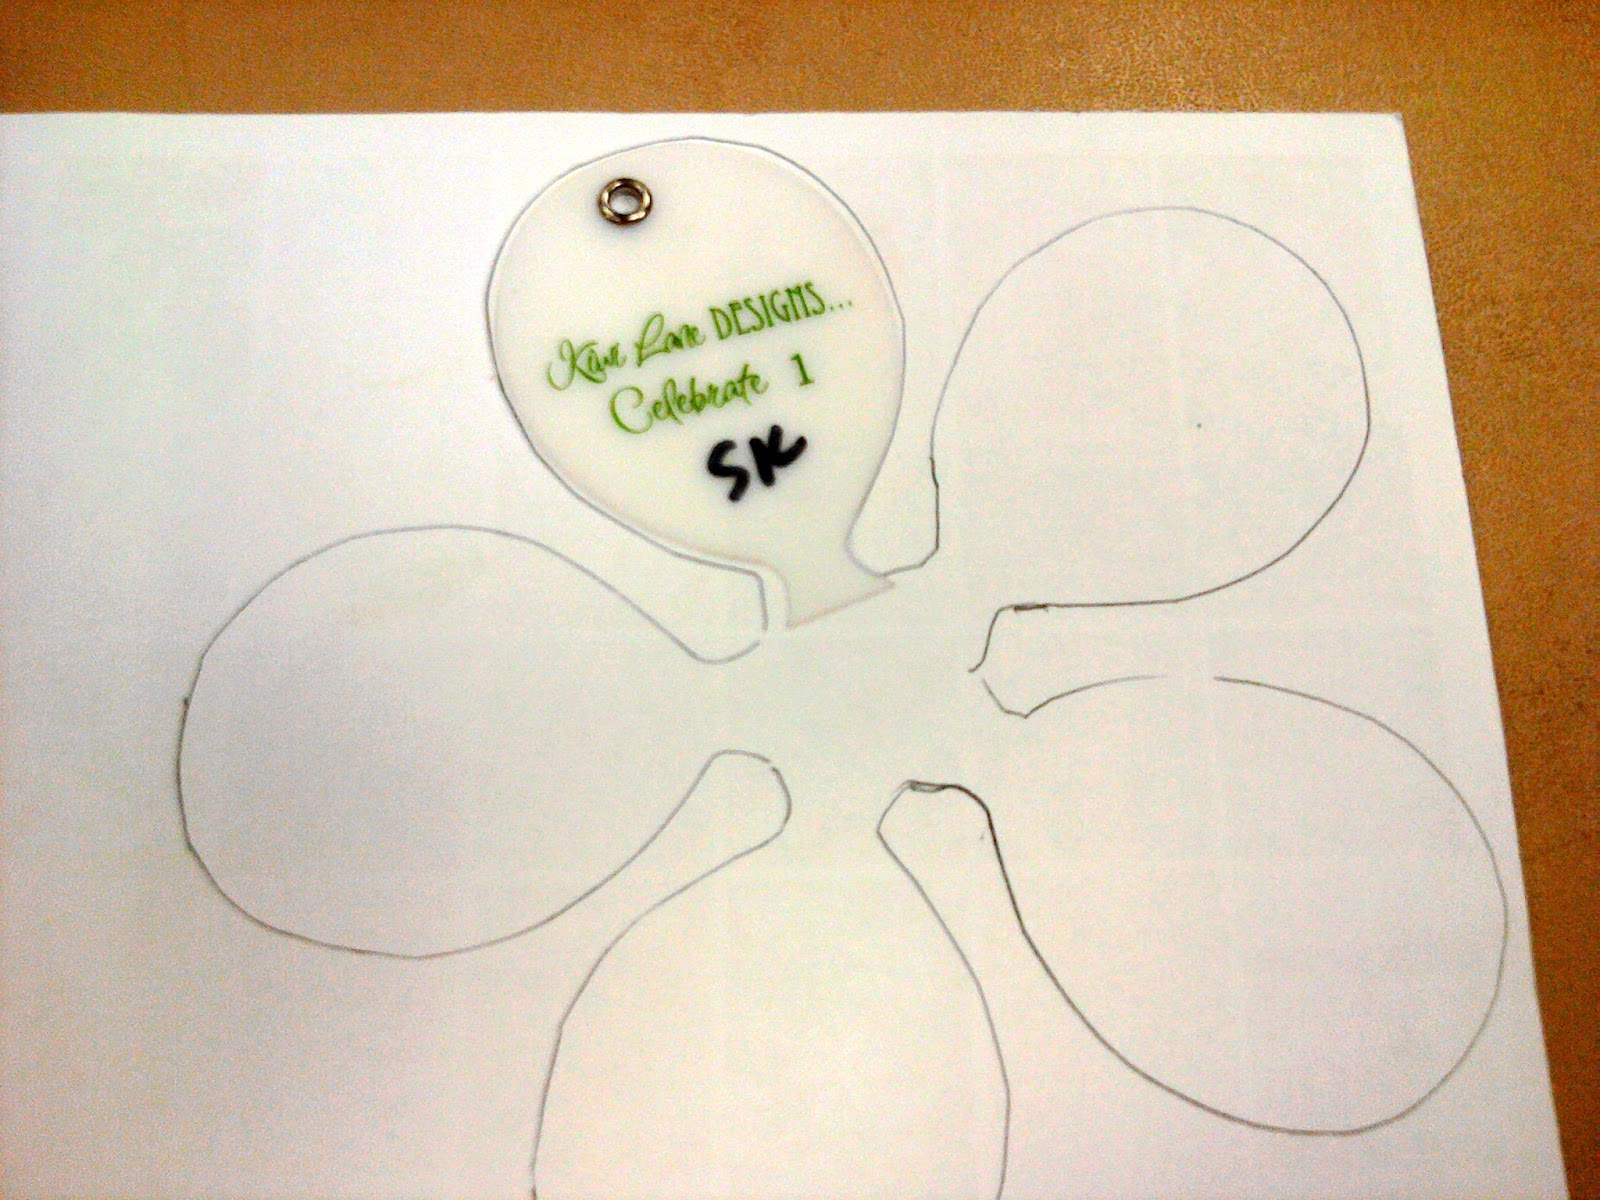
Since I really had no idea how this would go together I started with copy paper. You will want to make one of these as a background to glue all of your pieces to. I made my final one out of red card stock to match my pattern paper.
(She used it just as a template to design her ornament, but I actually glued my "petals" to it to make it stronger.)

Once I had the general idea and figured I could make it work I went to the pretty paper.

Trace and cut 20 of each design. I used the small leaf and small balloon.

I divided them into sets of 5 with "4 petals" each; you will need to score/fold 3 of the 4 "petals" to make
one complete petal/arm of the ornament. So 5 of the 20 will need to stay flat and the rest will need to be
scored/folded in the middle


You will find when folding the leaf in half that it does not line up exactly, I just trimmed it to match once it was glued together. Once glued you may ink or distress to your liking.

Ah! I don't have a good photo of putting them together.
-Lay down the un-scored piece, glue the 3 scored pieces to that one. The link above has really good photos showing how they go together if you need them. -So sorry!
Once your "petals" are glued together glue the "balloon" petals to the base.

Now it is time to plug in the glue gun. Cut 10 small lengths of tulle, mine are about 2 x 4 inches roughly.
In this photo I am just "playing" with my placement before I start hot gluing. The white "leaf" petals
have not been glued in yet.

I folded each piece of tulle in half and scrunched it together then glued in as shown.

Now that you are comfortable, go ahead and glue down with the glue gun.

It is time to glue in the 2nd layer of petals. I used a glue gun for these as well.

You should now have something that looks similar to this. :)

You are now ready to glue in your twine or ribbon. I find it easier to touch the twine to the glue gun rather than try and squeeze it onto such a small target. You will need 5 loops as well as a larger loop to use to hang from.

The twine is glued into the top fold of the "balloon" petal as shown. The larger loop for hanging will be glued down between the petals to the card stock base.

To make the center Rosette; scallop the edge of a 12 inch sheet and trim to 3/4 inch wide.

You can score every quarter of an inch or just eyeball it and fold it back and forth like a paper fan, like I did.

Once you have it folded glue the ends together and hot glue the center, holding until cooled.

Attach a button with a glue dot and you have a beautiful ornament!

Enjoy!
Shawna this ornament is beautiful. I love the dimensions and the embellishments you added to make it so pretty! Thank you for the tutorial :)
ReplyDelete